
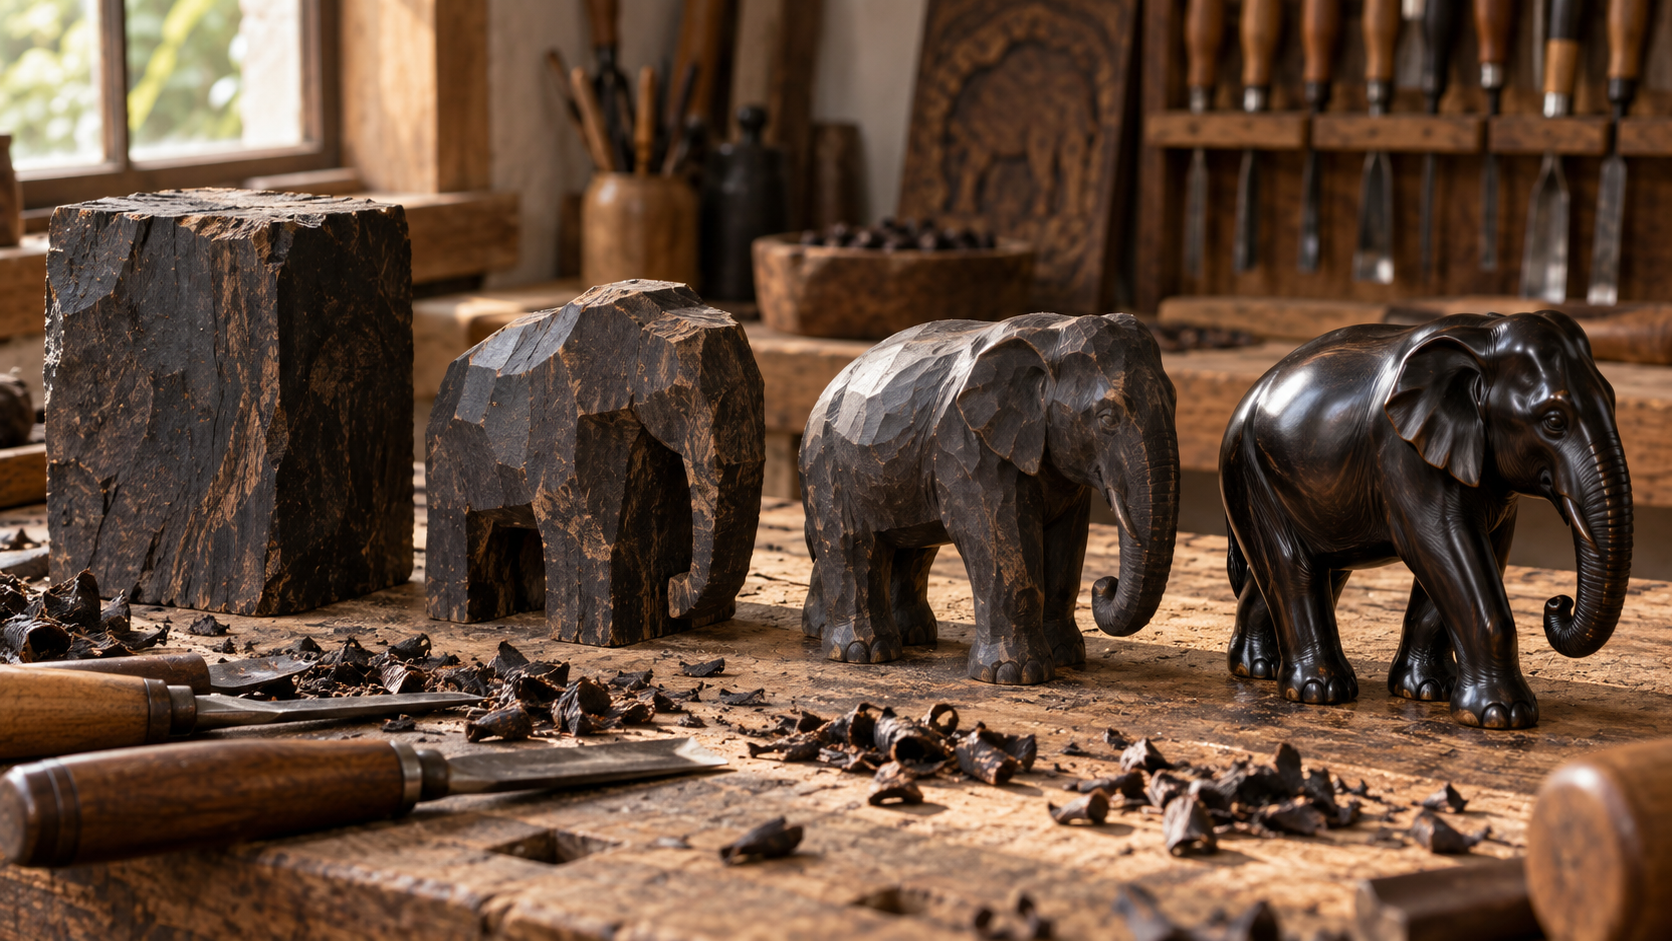
From Block to Sculpture: How an Ebony Carving Is Made brings material, craftsmanship and responsible collecting into one practical guide. It replaces generic claims with observable details and useful questions.
Selecting and reading the wood
Making begins before the first tool touches the surface. The carver studies grain direction, end checks, knots, the boundary between heartwood and sapwood, and the natural shape of the block. Long narrow elements should follow the primary fibres wherever possible. A bend in the material may suggest a neck, back or trunk. Designing with the available wood reduces waste and can turn lighter streaks into purposeful visual accents.
Seasoning: the invisible stage
Fresh timber contains moisture. If the outside dries much faster than the centre, uneven shrinkage creates tension and cracks. Controlled airflow, sealed end grain and protection from direct sun can slow that process. Timing depends on thickness, climate and initial moisture; there is no universal number. Some carvers rough out a form before final conditioning so the remaining mass can equalise more safely. Many failures that appear after purchase began with impatience here.
Establishing silhouette and balance
The first cuts locate the outline, centre of gravity and major planes. Fragile details remain oversized while the body is still changing. The sculptor rotates the work constantly because a convincing front view cannot compensate for a collapsed profile or unresolved back. Completing one eye before the overall proportions are established is a classic mistake. Every removal is irreversible, so the process moves from broad relationships toward small commitments.
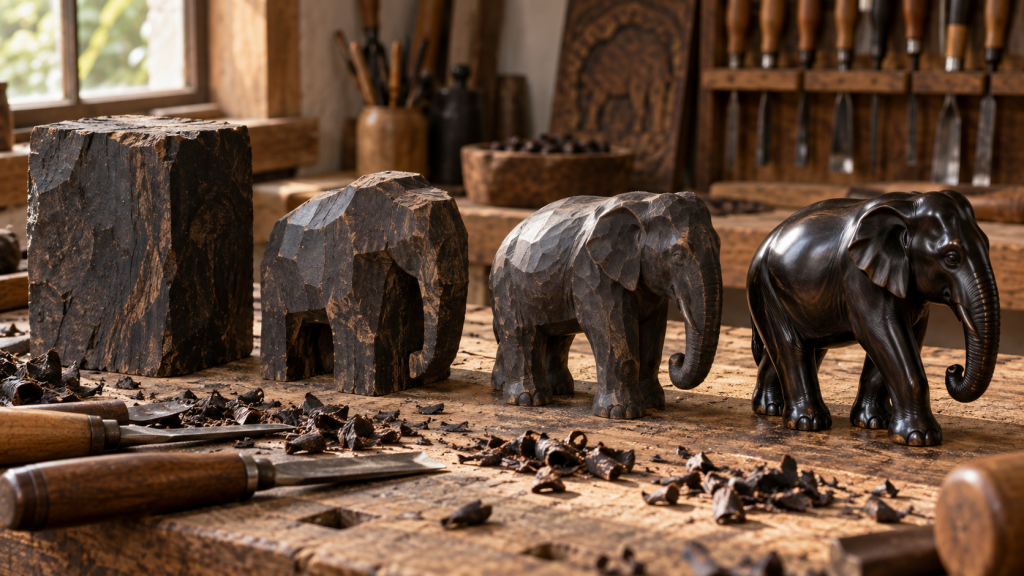
A text-free editorial image created specifically for this Africa Ebony journal story.
Carving detail with sharp tools
Gouges, chisels and knives refine the blocked form. A dull edge crushes fibres and increases the chance of a chip; a sharp edge leaves a controlled surface. The cutting direction changes as grain reverses. Around a face, tiny differences alter expression. In an animal, the junction of leg and body or the thickness of a horn must combine elegance with structural strength. Tool marks may remain intentionally, but accidental tearing should not be confused with expressive texture.
Sanding as final modelling
Sanding does more than make wood smooth. It is the last opportunity to refine a curve and connect adjacent planes. Abrasives progress through suitable grades, with dust removed between stages. Skipping too far leaves deep scratches that become more visible under finish. Important edges must not be rounded away. Raking light reveals ripples and cross-grain marks better than frontal light, allowing the artist to decide where a matte or burnished passage best describes the form.
Finish, rest and documentation
Compatible wax or oil is applied sparingly and allowed to cure. A good finish should not flood detail. The artist then checks stability, base contact, open checks and tactile continuity. Dimensions, weight, photographs and maker information complete the record. Packaging must support the strongest masses without loading a trunk, hand or horn. The final object is the visible outcome of selection, waiting and thousands of controlled movements; gloss alone can never rescue poor seasoning or uncertain structure.
A practical checklist for collectors
Read the listing twice: first for form, then for facts. On the first pass, consider silhouette, proportion, centre of gravity, negative space and the way the sculpture changes across viewpoints. On the second, record dimensions, weight, wood description, maker or workshop, country of production, finish, condition and every stated repair. A single front image is never enough. Request the reverse, underside, side profiles and a close view under soft light. If words and photographs do not agree, resolve the difference before payment. This short discipline prevents impulse purchases and makes comparison fair.
After delivery, open the package without pulling on narrow details. Match the inventory number, measurements and condition with the invoice, then make a clear photographic record in indirect daylight. Place the work on a stable surface away from sun, heating, air conditioning and local moisture. For routine cleaning, use only a soft dry brush or clean microfibre cloth unless the maker or a conservator specifies otherwise. Keep the invoice, certificate, permits, photographs and provenance correspondence together. That file becomes part of the object’s history and supports future care, insurance or transfer.
Before you decide: look slowly and ask clearly
Ebony sculpture rewards slow looking. Begin at a distance, where the silhouette and balance are easiest to judge, and then move closer to read the meeting of planes, the direction of grain and the evidence of tools. Turn the work mentally through the photographs rather than treating the front as the entire sculpture. Notice whether a polished highlight clarifies volume or merely hides an uneven surface. Small natural variations can make an object more individual, but every crack, repair, separate component and applied coating should be described honestly. If the seller cannot answer a technical question immediately, a careful follow-up is more reassuring than an invented certainty.
Also consider the life the object will have after purchase. Identify a stable display position, measure it, check the light through a full day and plan how the piece will be lifted and dusted. Think about whether the scale suits the room and whether the subject will still hold your attention when decorative trends change. Good collecting connects visual pleasure with stewardship. It supports identifiable makers, respects finite material and preserves records that allow a future owner to understand what the object is. The strongest choice is rarely the one with the loudest story. It is the sculpture whose material, workmanship, documented origin and emotional presence remain convincing when examined together.
Frequently asked questions
Does a perfectly black colour prove that the wood is ebony?
No. Colour is only one clue. It must be considered alongside grain, density, the underside, finish, maker information and provenance. Other woods can be stained, while genuine ebony may contain brown or pale variation.
Are small surface variations defects?
Not necessarily. Natural figure, controlled tool marks and slight handmade asymmetry belong to wood and handwork. An active crack, loose joint or sticky coating is different and deserves investigation.
What documents should accompany the work?
At minimum, retain an invoice and object record stating title, maker or workshop, place of manufacture, material, dimensions, weight, unique identifier and known provenance. International movement may require additional current permits.
Editorial note: Species status and timber-trade rules vary by origin and can change. Consult current official sources and a responsible seller before international shipment.